

This Burmese-style recipe will show you how easy it is to make your own chickpea tofu at home. You can add this protein-packed recipe to boost your soups, stir-fries, salads, wraps, noodles, or curry dishes. It's the perfect soy-free alternative to tofu!
Jump to:
I first learned how to make this recipe while working at The French Laundry in California. Here, it was known as Panisse, which is the French variation. It's a versatile recipe we used as a component in so many different dishes throughout the daily changing menus.
It's best to make chickpea tofu the day before you need it to allow ample time to set. In this article, I'll provide you with all the information you need to know for making your own chickpea tofu at home.

What is Burmese chickpea tofu?
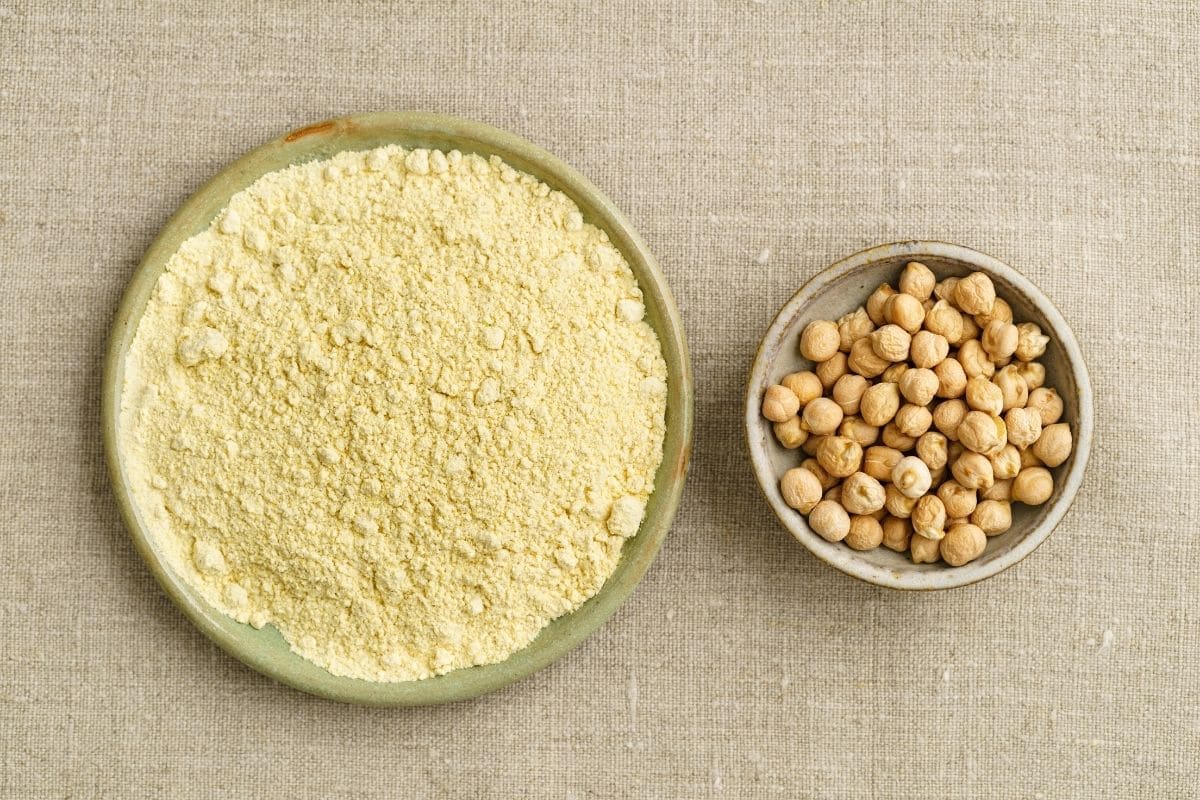
Burmese tofu is not made from soybeans like regular tofu. It is made out of chickpea flour or besan flour, which is a blend of ground chickpeas and split yellow peas. It's cooked with water, salt, lemon zest, olive oil, and turmeric until very thick and then left to set overnight.
This technique for making chickpea tofu is common in Shan cuisine in Burma. It's traditionally added to Burmese Tofu Salad or Burmese Fritters.
Why you will love this recipe
- Versatile to be used in many different dishes - It fries up and performs similarly to tofu in most recipes.
- Cheap to make
- Quick with just 15 minutes of effort needed
- A healthy addition to your menus
- Simple - no fancy equipment required!
- Get creative - you can add spices and flavors to it during the cooking process, so it's more flavorful than tofu.
- Everyone can enjoy - It's gluten-free, soy-free, and vegan

How to make chickpea tofu
This is a lovely recipe to make, there is no chopping or prep work to do. Simply add everything to a blender - cook it out - let it set - cube it - fry it - eat it!
Here is a detailed step-by-step tutorial with images to help you along each step of the way.
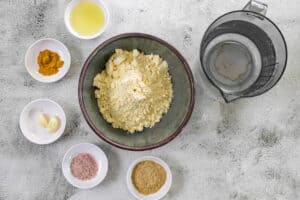
Assemble all the ingredients

Add chickpea flour to the blender

In with the garlic

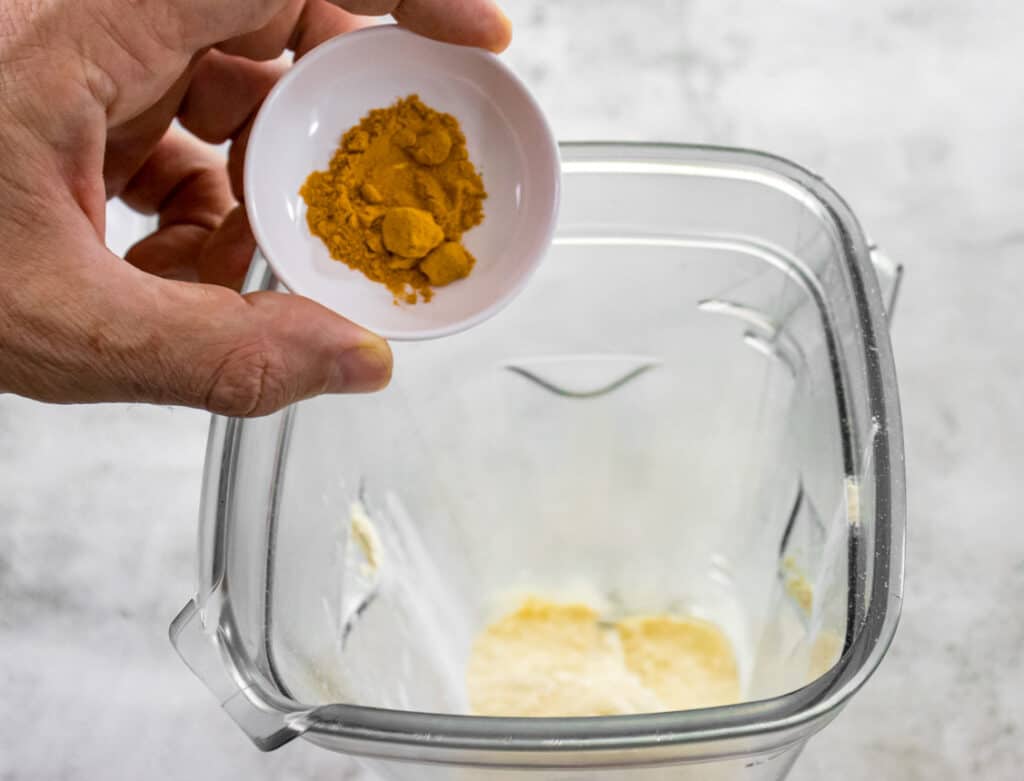
Add the turmeric powder
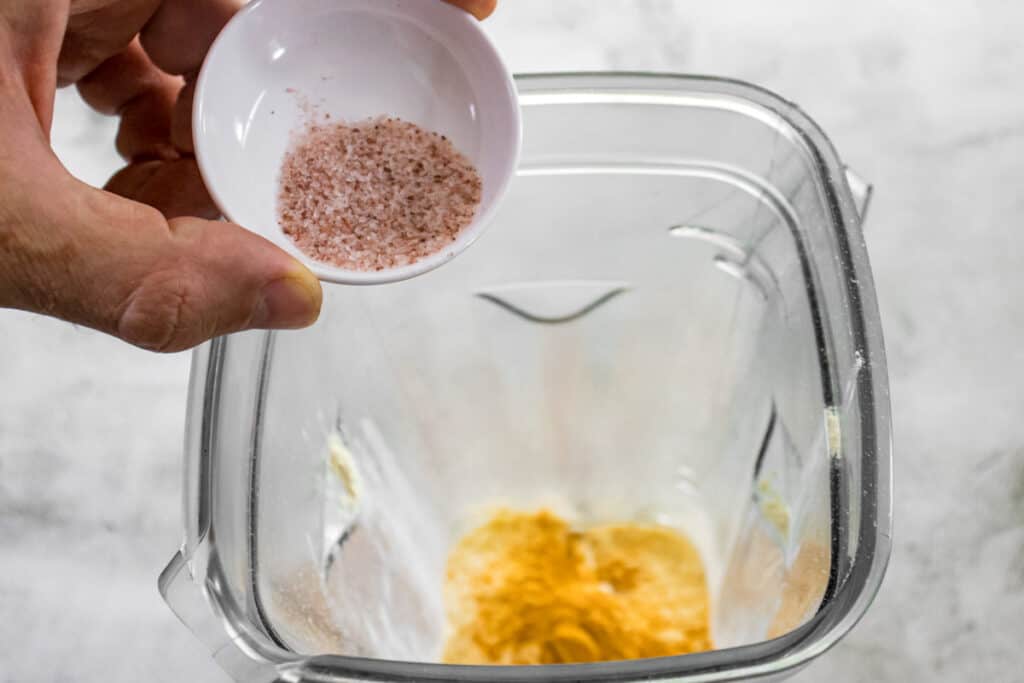
Add the pink salt
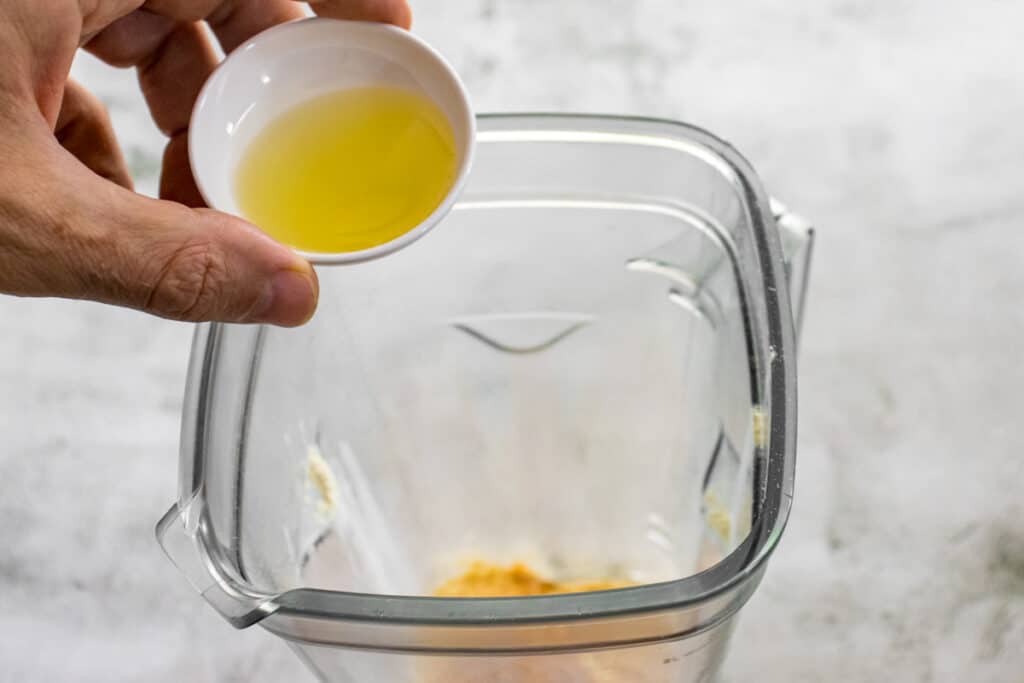
In with the olive oil
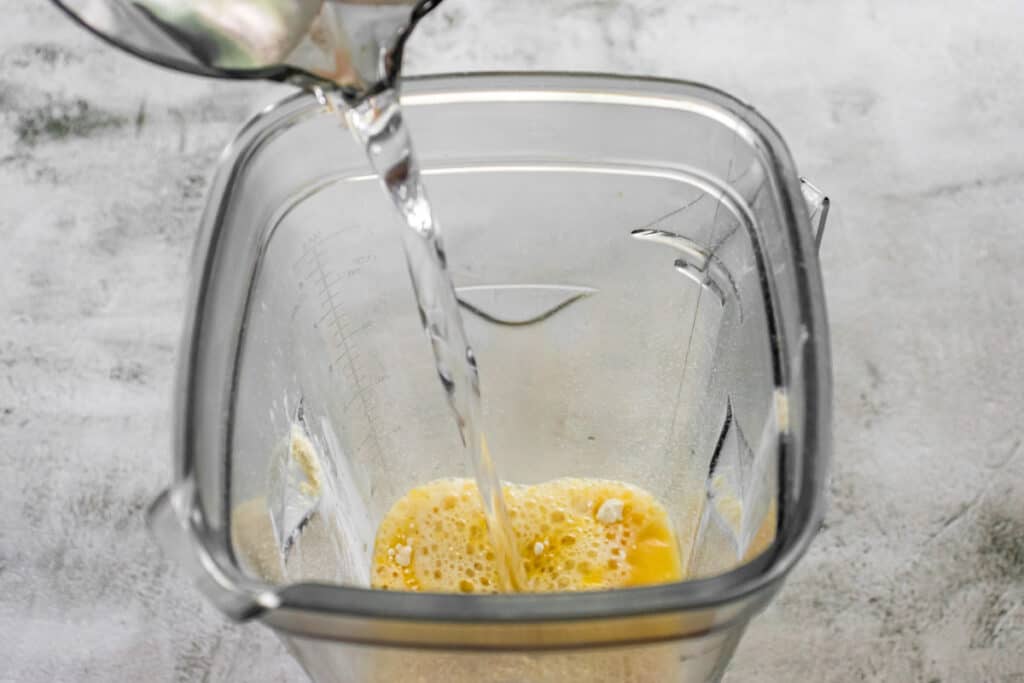
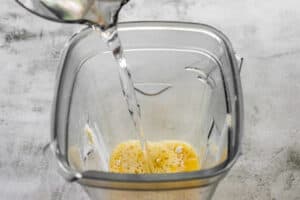
Pour in the water
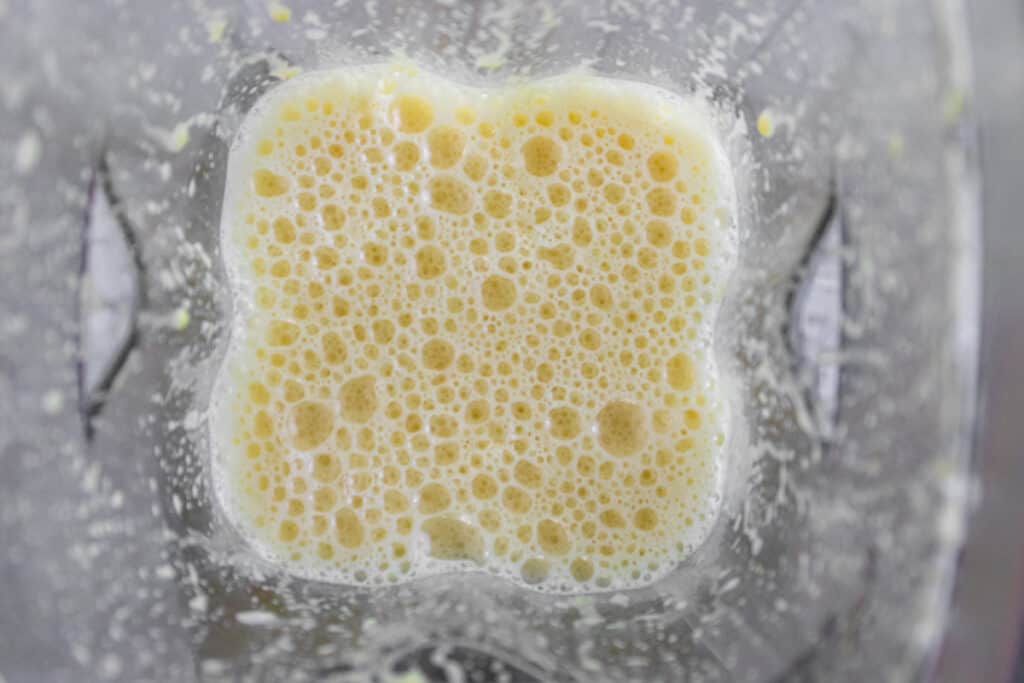
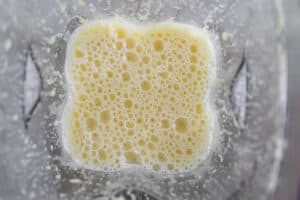
Blend everything together until smooth - about 30 seconds
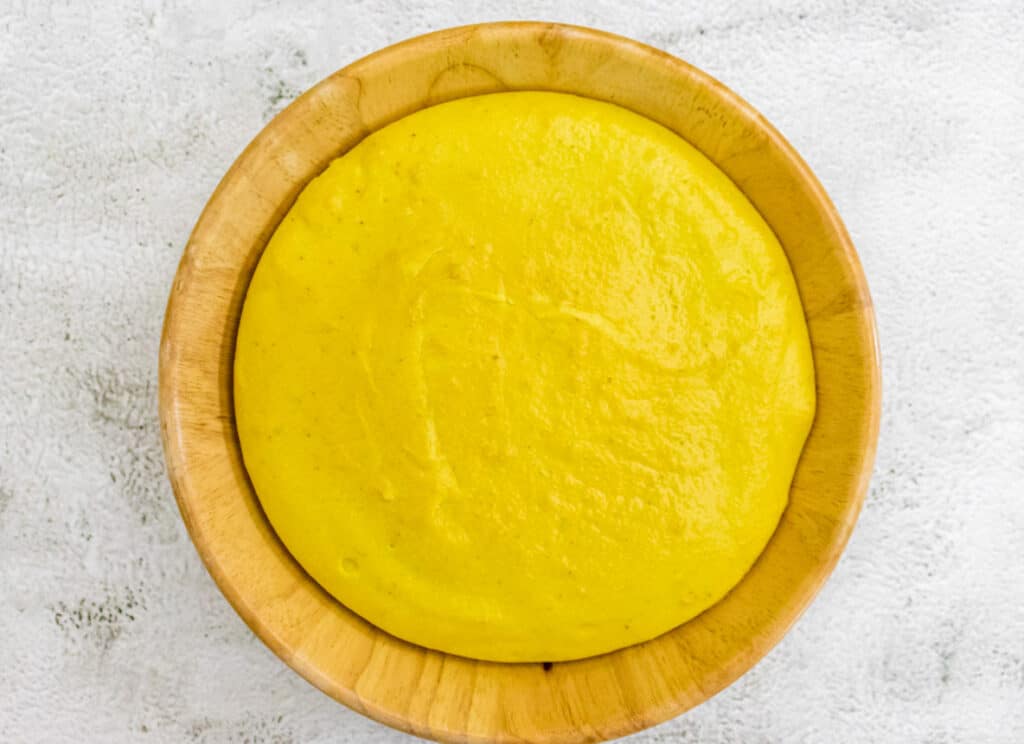
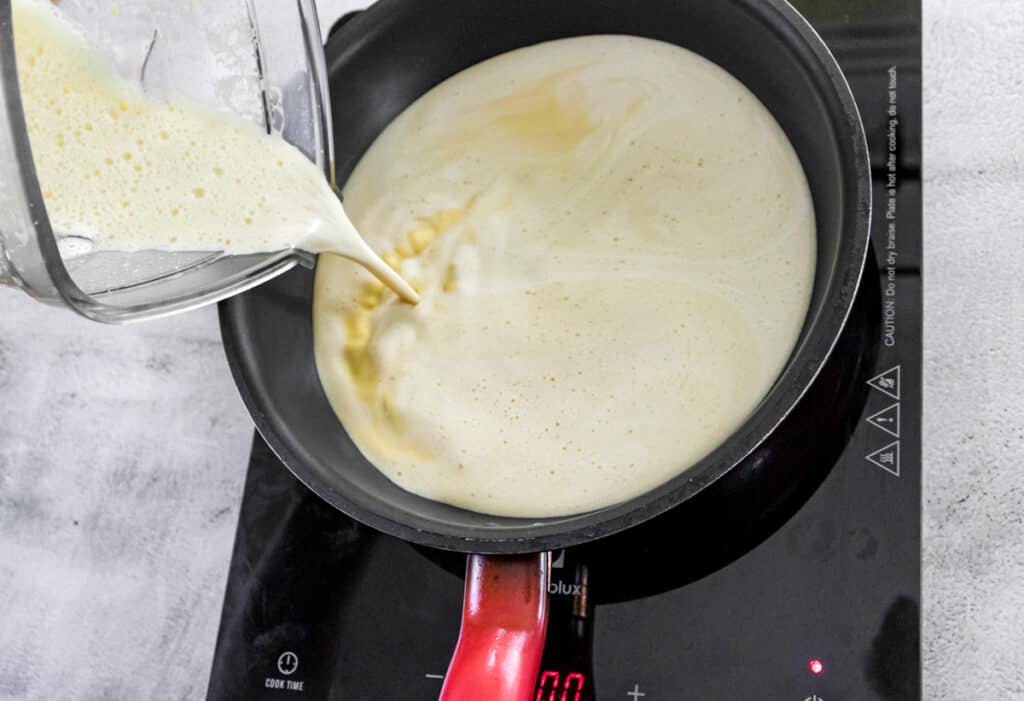
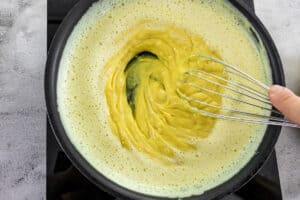
Pour the chickpea mix into a cold wide-bottomed saucepan
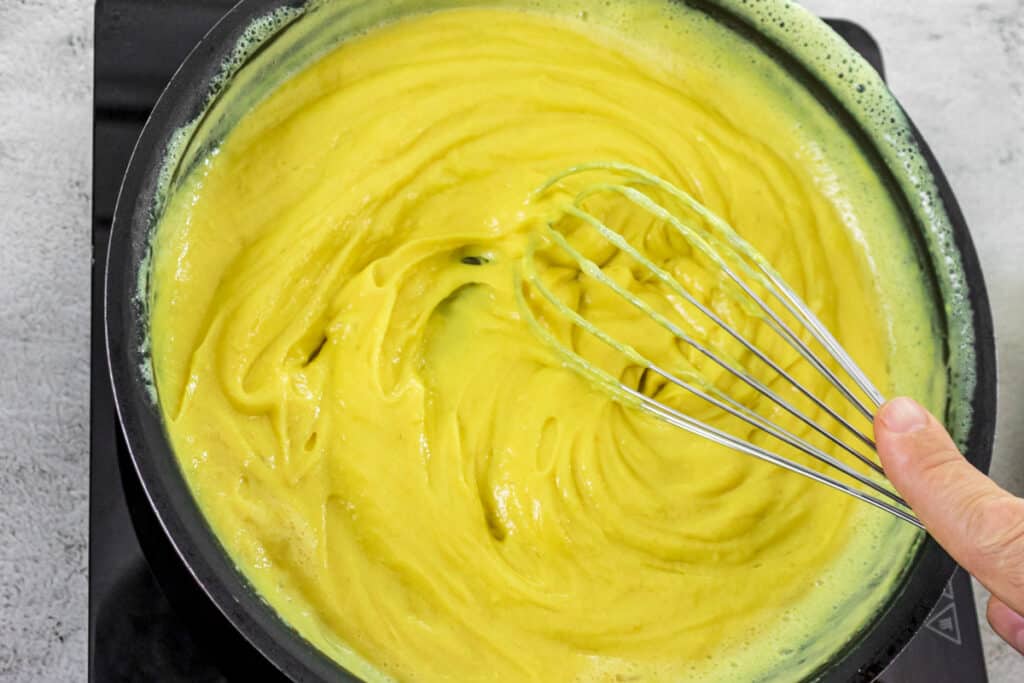
Slowly bring to a simmer, whisking all the time to prevent any lumps from forming. This is an important stage. If you heat the mix too quickly without stirring it will go lumpy.
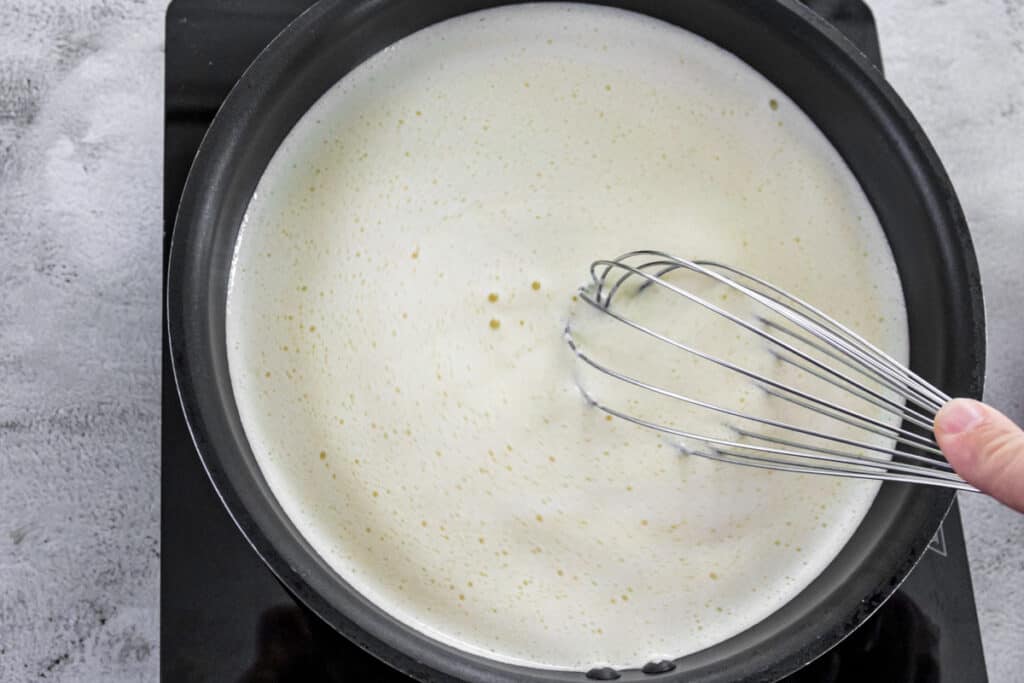
Continue whisking on a gentle simmer

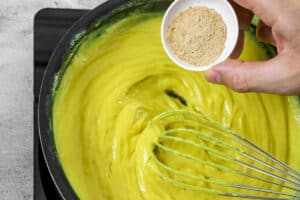
Add the nutritional yeast seasoning at this stage

Taste the mix for seasoning and add another pinch of salt if it needs a boost
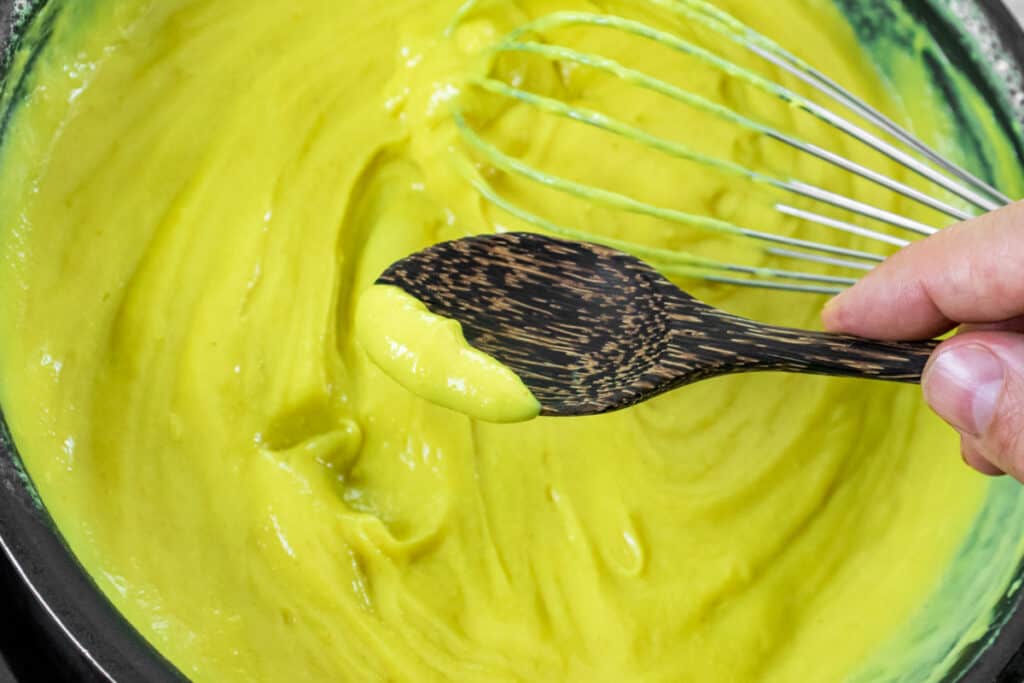
Keep whisking - almost there!
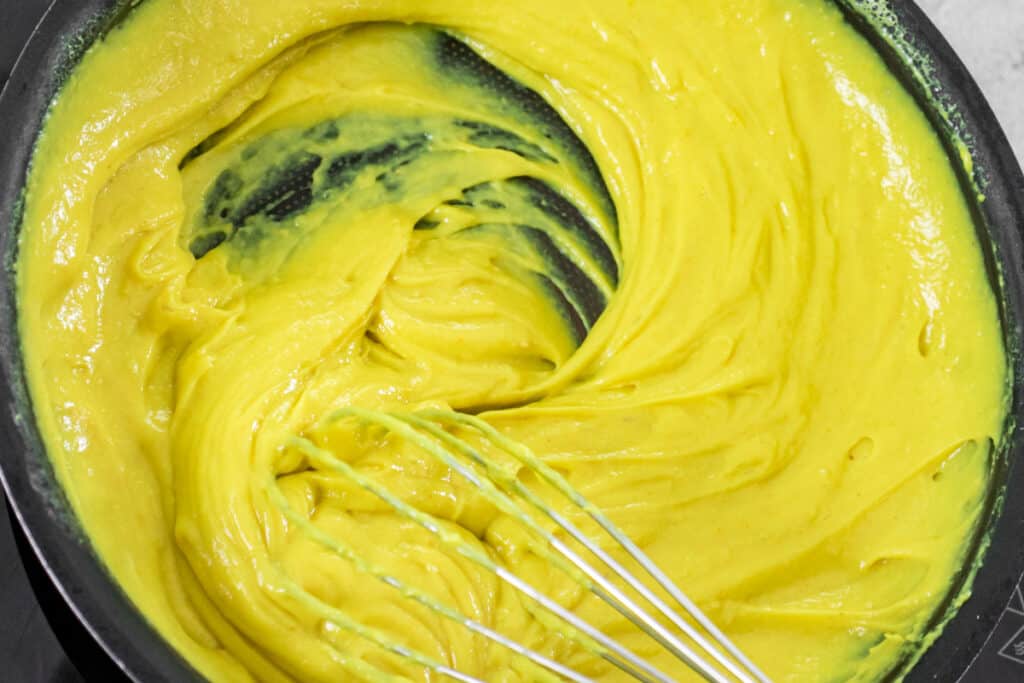
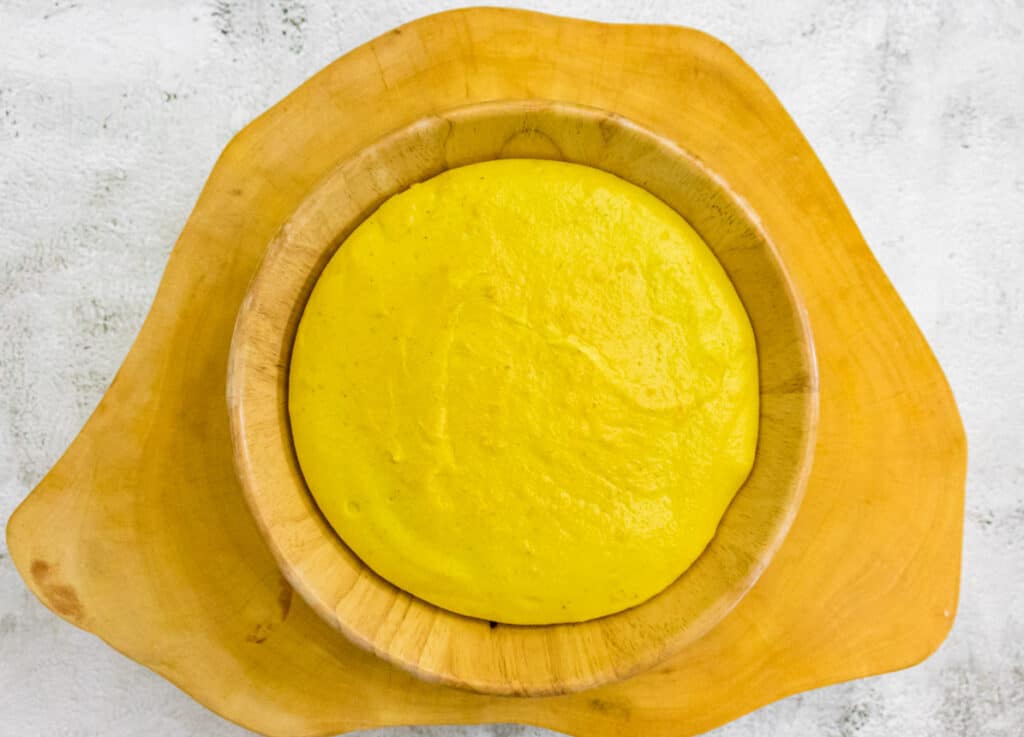
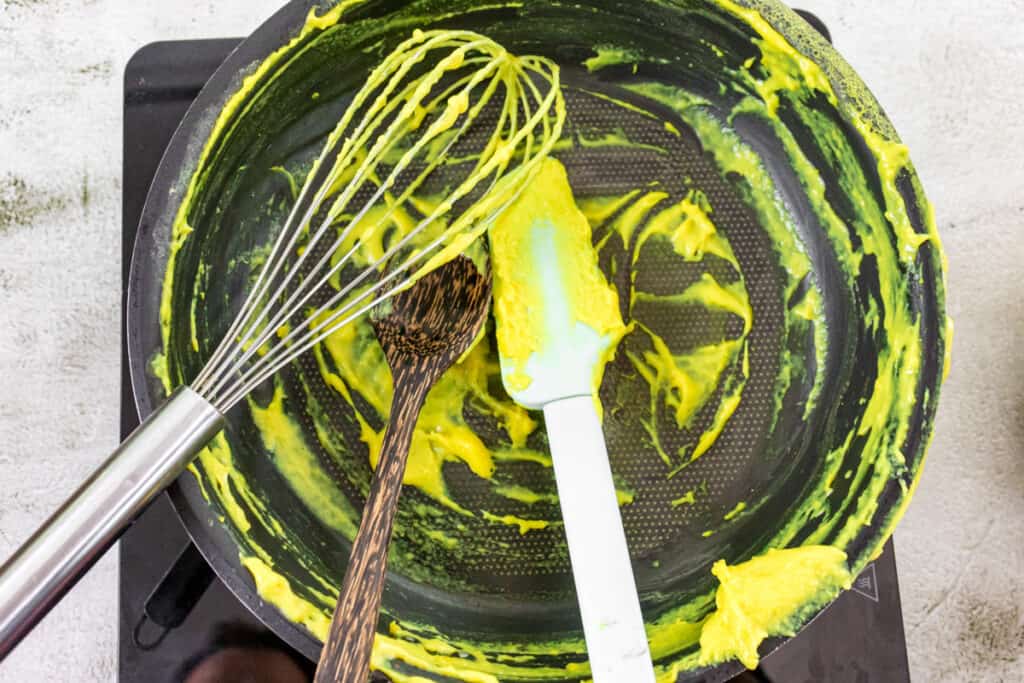
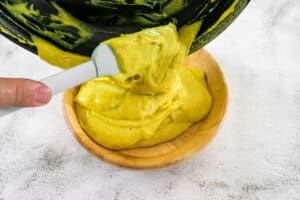
Pour mix into a container to set. You can line the container with parchment paper or cloth. I find it does not stick to the container so it's easy to turn out when it's cooled and set firm.
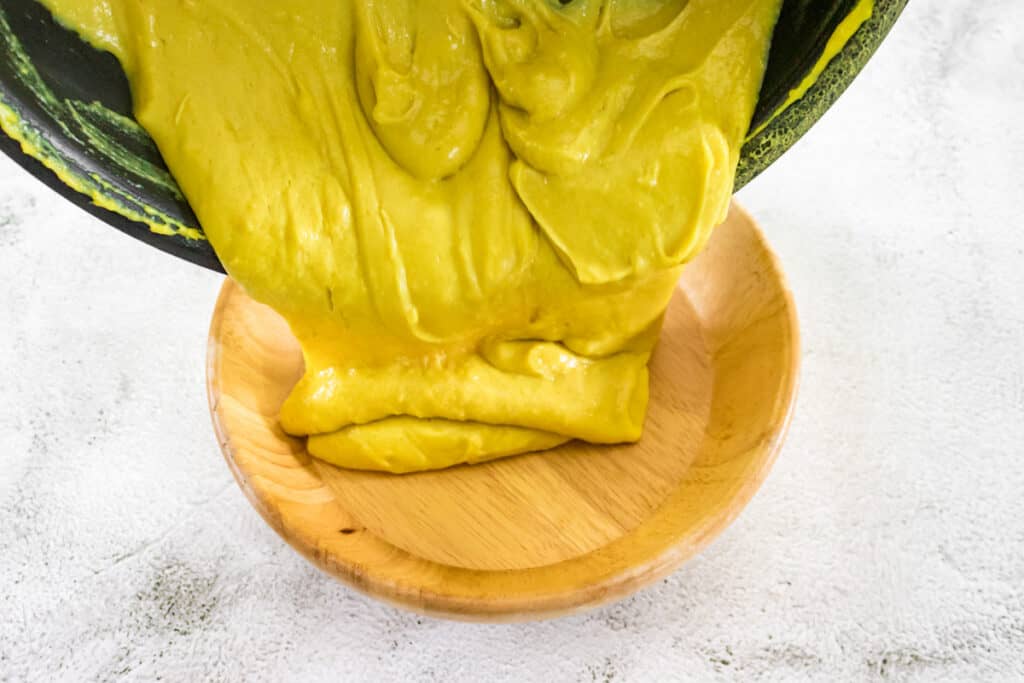
Use a spatula to get all the mix out. Work fast at this stage. The mix sets fast!

Smoothen with the back of a spoon

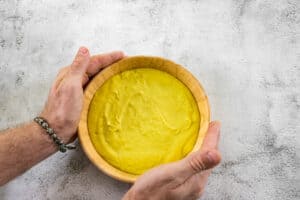
Tap the container on a work surface to knock out any air pockets.

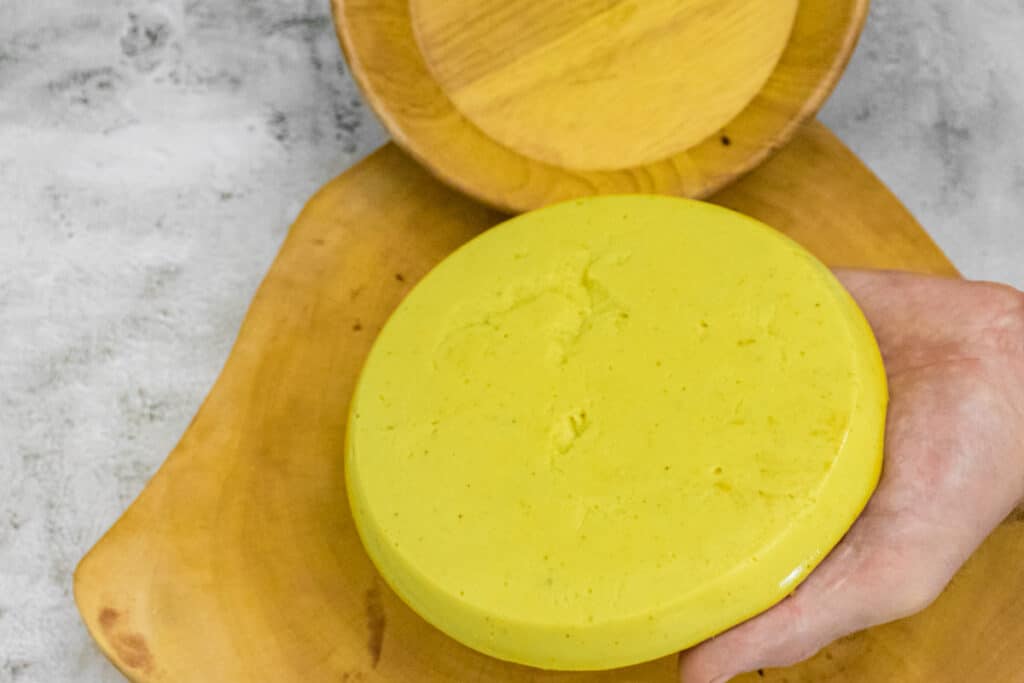
To set the chickpea tofu
Allow to cool at room temperature and then transfer to the refrigerator to set firm. This will take at least 2 hours. Ideally, it's best to leave it to set overnight.
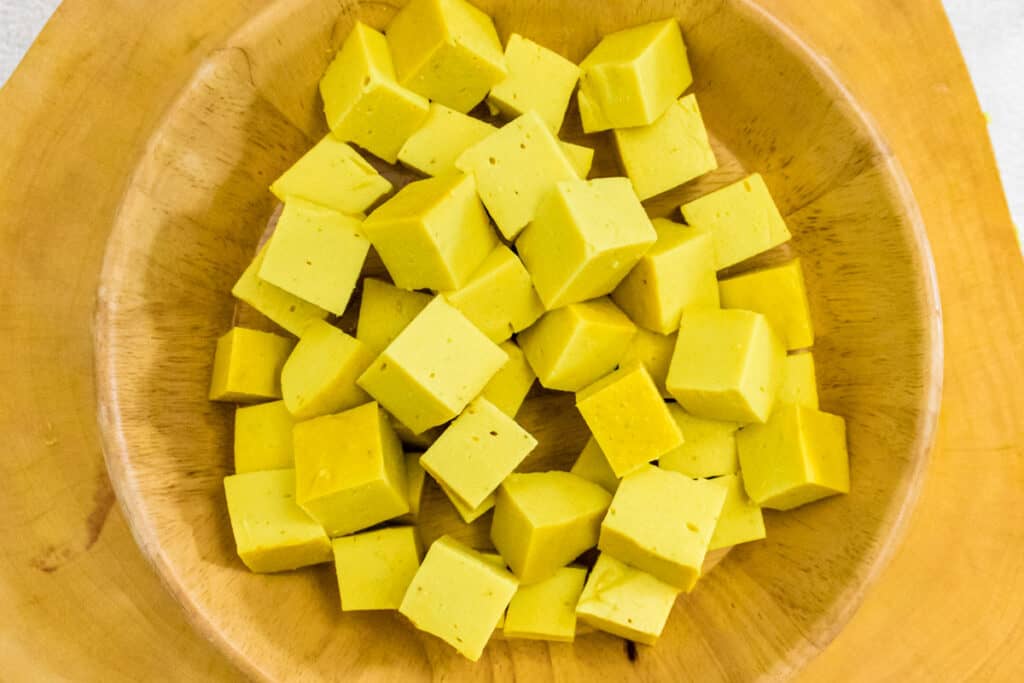
Turn the chickpea tofu out onto a cutting board

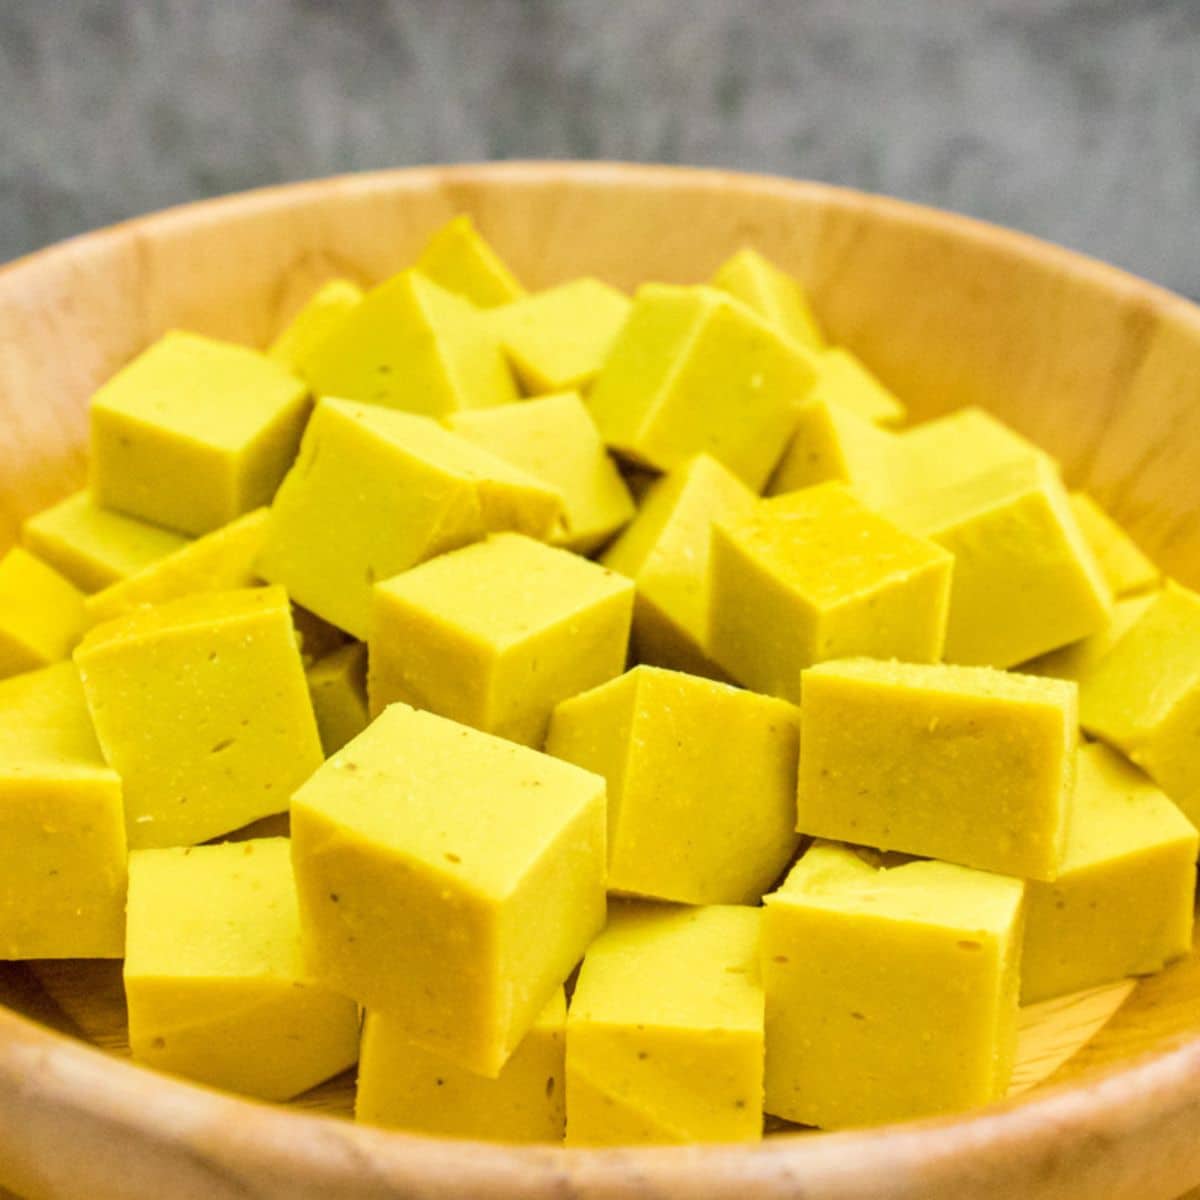
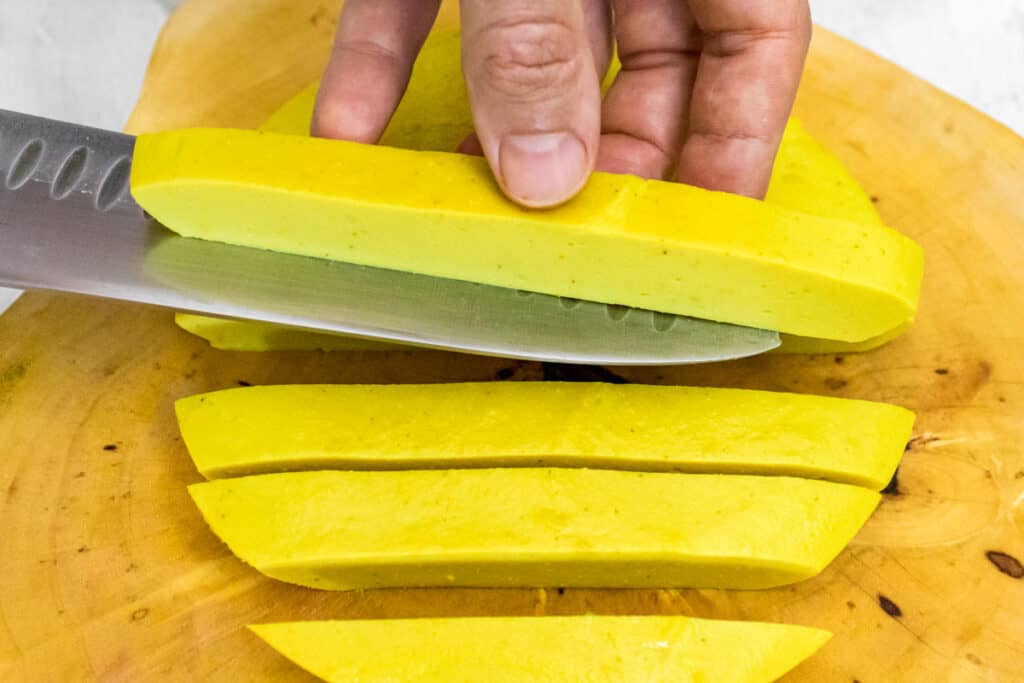
You can now cut the chickpea tofu into whatever shapes and sizes you desire!
Long strips are nice for deep-frying and serving as chickpea 'fries' or they can be a nice garnish for the main course
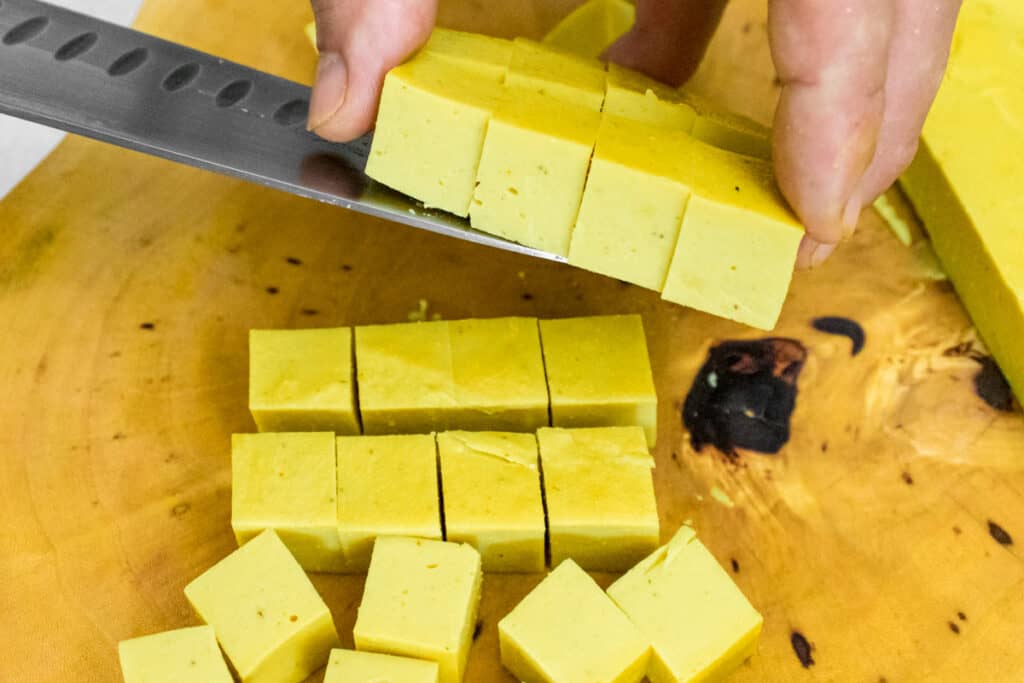
Cut the chickpea tofu into cubes, ready to fry or drop in a soup
Chef's pro tips
I messed up this chickpea tofu several times so I hope you can learn from my mistakes! It was not fun when I went to portion my chickpea Panisse for service and realized it did not set! That's cooking, we learn from our mistakes and keep learning.
Why did my chickpea tofu not set?
The main reason for this is that the chickpea paste was not cooked for long enough. You really have to cook it out until it's nice and thick. Stay with it and keep whisking so it does not go lumpy.
Why is my chickpea tofu lumpy?
The main reason for this is that the chickpea paste was not whisked enough as you were bringing it to a boil and cooking it. You have to get into the edges of the bottom of the saucepan and mix well to avoid any lumps forming.
Cookout on medium heat mixing well throughout to prevent lumpy and grainy chickpea tofu.
Please note The timing of when it reaches the optimum thickness can depend on how hot you cook it and the power of your hob. Generally, it takes about 8 minutes to cook out the chickpea tofu mix.
Here's how to know when it has reached the right point to stop cooking:
- Whisking should become harder and more effort with a thick chickpea paste
- Instead of flowing in ribbons and easily running off the whisk, the mixture should cling to the whisk
- When you stir, the trail made by the whisk should hold its shape well
- When pouring out the mixture, it should be so thick that you will need to use a spatula to scrape it out of the pan and smoothen it off in the container.
Frying
Chickpea tofu can be eaten when it is set without the need to cook any further. You can simply drop it into soups, stews, or curries. But frying it gives it a crispy crust and extra flavor. Traditionally it is deep-fried, but I like to shallow fry it to reduce the oil absorption.
Once your chickpea tofu is set, you can cut it into whatever shapes you like.
Chef's top tips for frying:
- Use a really good non-stick pan
- Heat up the oil well before adding the tofu
- Don't try and move the pieces around too much before they have formed a good crust. Trying to move or turn them too soon can result in the crispy layer separating from the piece and they break up. Move them one at a time while turning carefully to get nice crisp edges all around.
Storage Tips
You can store chickpea tofu in the fridge for up to 3 days. It will start to lose its freshness after this. You can freeze it for up to 3 months in a sealed glass container.
Nutritional content
Chickpeas are a great source of plant-based protein, they also have good fibers and minerals. You can read more about the nutritional content and health benefits of chickpeas here.
More chickpea-inspired recipes
We hope you enjoy this delicious recipe. If you give it a try, let us know in the comments below - we love hearing your feedback and seeing your recreations.
📋 Recipe

Chickpea Tofu {Easy Soy Free Recipe}
Ingredients
Equipment
Method
- Assemble all ingredients.

- Line a tray with a clean cloth or parchment to pour the chickpea mix when it's cooked.
- Add the chickpea flour, water, olive oil, garlic, salt and turmeric to a blender.
- Blend for 30 seconds until smooth.
- Add the mix to a wide based saucepan.

- Heat the chickpea mix in the saucepan to medium heat, whisking all the time.
- Cook out on a medium heat, mixing well throughout - do not leave it unattended!
- Taste and adjust the seasoning. Add the nutritional yeast and lemon zest at this stage.
- When the chickpea mix it nice and thick, get ready to pour the mix into the lined tray or bowl to set.
- Spatula the chickpea mix into the tray to set.
- Tap down the tray go release any air bubbles. It will start to set quickly.
- Leave at room temperature until cool, then transfer to the fridge for at least a couple of hours to set firm


- Cut the tofu into cubes or slices.
- Pre-heat a non-stick frying pan. Add some oil to cover the base of the pan.
- Fry the chickpea tofu on all sides until golden brown

Nutrition
Notes
Tried this recipe?
Let us know how it was!Chickpea Tofu Tutorial Video
FAQ
It will last for up to 3 days in the fridge.
Yes indeed, it's best to portion first and then store in a sealed glass container.
The really surprising thing about Chickpea Tofu is its texture. It is soft, creamy and silky, not unlike silken tofu. It has a mild texture with nice flavors from the lemon zest, salt, and garlic.
Chickpea flour is also known as garbanzo bean flour works well. You can also use Besan flour which is an Indian blend of yellow split peas and chickpeas. It's used a lot in Indian cuisine and is very inexpensive.


K says
I tried chickpea tofu for the first time a year ago and really loved it, so I'm excited to see that making it from scratch is easier than I imagined! I'm looking forward to trying this at some point!
Jamie Raftery says
Let me know how it turns out for you - such a surprisingly simple recipe indeed! Happy cooking
Debbie says
Can I use a food processor instead of a blender? Excited to try this recipe! Thank you.
Jamie Raftery says
Hi Debbie, yes indeed you can use a food processor. Make sure to get the mix nice and smooth - and when cooking it, take care to start cooking it slowly, whisking t all the time to keep it nice and smooth. Let me know how it works out - happy cooking!
BREDA says
Thank you..Will have to make this. Nice alternative for tofu using chickpea flour or besan flour.